The Ultimate melt in your mouth "WHEAT HALWA" !
Recipe Courtesy : My grand mother.
A traditional south Indian delicacy which is highly labor intensive and extremely rewarding.
If the recipe is followed, you get the most smooth, buttery & delicious treat ever.. Please make sure to follow every single step for amazing results else you will land up with either a hard candy or a super sticky goo :)

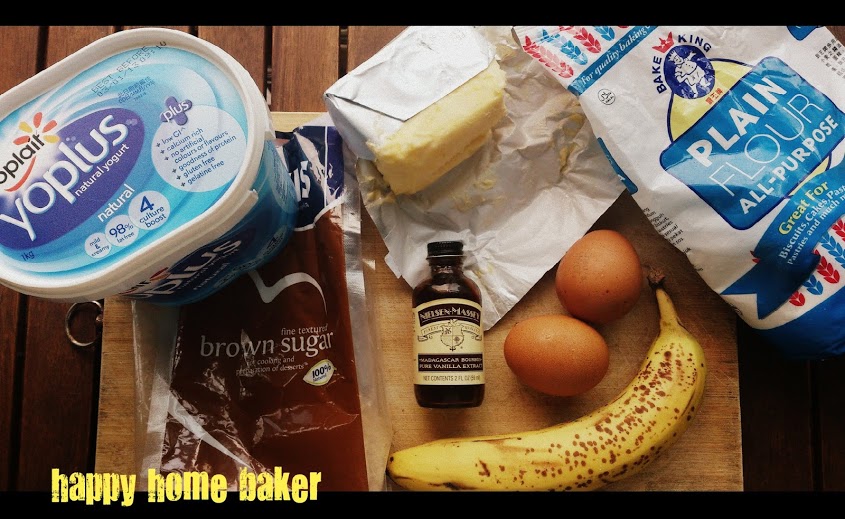
INGREDIENTS
1 cup whole wheat grains ( Any variety is ok). Organic is even better!
2 cups Sugar ( I used fine white sugar)
little water to soak the sugar
1 cup - boiling water
1cup - ghee ( more if needed )
3/4 tsp of cardamom powder ( freshly ground please)
10 cashew nuts chopped & roasted in ghee.
couple of generous pinches of Saffron strands
edible colors ( I used Ameri color yellow and red )
UTENSILS NEEDED
Sieve ( fine holes )
Tawa or a pan ( I prefer a non stick)
strong wooden ladle
Some tissues or a towel to wipe away all the sweat from the work out :))
METHOD
Soak the whole wheat grains in water overnight or upto six hours atleast. Make sure they are completely submerged in water. They will look fatter and can be crushed easily with your fingers.
REMOVING THE MILK FROM THE WHOLE WHEAT GRAINS
Drain the water and with little water mash them up well in a mixer. Make sure to keep adding water
in between so that they are thoroughly ground. At this stage they will be sticky a bit grainy and paste like. At this stage, remove from the mixer add it to a quarter cup of water and knead it well with water. Put this in the strainer and make sure to remove the all the contents from the sticky dough. Use the mixer If needed, ound it a few more times and again strain it with a little water. We do this a few times till we are left with a coarse grainy whey which can be discarded ofcourse.
Once the liquid is extracted totally, let it sit for at least 3 hours or so.. The excess water we have added is on top and can be discarded. Make sure to be extremely careful to do that ( shouldn't waste any of the milk collected)
In a tawa add the sugar and little water till the sugar is just wet and tun on the heat on a medium low flame. Make sure to be by the side of your tawa... make sure to keep stirring. After about 10 min you see the sugar tends to get a bit sticky single thread consistency. Keep a close watch!
Add the Milk to the sugar syrup and keep stirring, as the mixture takes in the heat, the milk turns into a transparent jelly like mass.. KEEP STIRRING! when it becomes a bit hard, add little boiling water at a time and keep stirring. Little by little, till you use up all the boiling water !

"THE ORIGINAL RECIPE CALLS FOR 2.5 CUPS OF GHEE, GRAND MUM MADE IT with just 1 CUP GHEE AND 1 CUP BOILING WATER.. HEALTHIER RIGHT? "
The mass takes up all the water and again starts to thicken, that's when you start adding your ghee little by little.. KEEP STIRRING..BE CONSISTENT..DON'T LET ANY LUMPS FORM.. NICE AND STEADY HANDS..STIR AWAY.. Now is when the towels will come handy :)
Add the desired color, saffron strands & the cardamom powder and KEEP STIRRING adding little ghee at a time.. Takes about 20 min (roughly). You know it's done when you take a small ball and throw it straight on the plate and the ball retains it's shape. If it flattens out, it means the dough needs more stirring and ghee..
Once done, empty it onto a greased plate and flatten it to one inch thickness.. evenly spread the roasted cashews and slice when it's slightly warm.. I couldn't wait till then :)
Hope you enjoyed the recipe ! Do give it a try & dig into the worlds best Halwa !
Recipe Courtesy : My grand mother.
A traditional south Indian delicacy which is highly labor intensive and extremely rewarding.
If the recipe is followed, you get the most smooth, buttery & delicious treat ever.. Please make sure to follow every single step for amazing results else you will land up with either a hard candy or a super sticky goo :)

INGREDIENTS
1 cup whole wheat grains ( Any variety is ok). Organic is even better!
2 cups Sugar ( I used fine white sugar)
little water to soak the sugar
1 cup - boiling water
1cup - ghee ( more if needed )
3/4 tsp of cardamom powder ( freshly ground please)
10 cashew nuts chopped & roasted in ghee.
couple of generous pinches of Saffron strands
edible colors ( I used Ameri color yellow and red )
UTENSILS NEEDED
Sieve ( fine holes )
Tawa or a pan ( I prefer a non stick)
strong wooden ladle
Some tissues or a towel to wipe away all the sweat from the work out :))
METHOD
Soak the whole wheat grains in water overnight or upto six hours atleast. Make sure they are completely submerged in water. They will look fatter and can be crushed easily with your fingers.
REMOVING THE MILK FROM THE WHOLE WHEAT GRAINS
Drain the water and with little water mash them up well in a mixer. Make sure to keep adding water
in between so that they are thoroughly ground. At this stage they will be sticky a bit grainy and paste like. At this stage, remove from the mixer add it to a quarter cup of water and knead it well with water. Put this in the strainer and make sure to remove the all the contents from the sticky dough. Use the mixer If needed, ound it a few more times and again strain it with a little water. We do this a few times till we are left with a coarse grainy whey which can be discarded ofcourse.
Once the liquid is extracted totally, let it sit for at least 3 hours or so.. The excess water we have added is on top and can be discarded. Make sure to be extremely careful to do that ( shouldn't waste any of the milk collected)
In a tawa add the sugar and little water till the sugar is just wet and tun on the heat on a medium low flame. Make sure to be by the side of your tawa... make sure to keep stirring. After about 10 min you see the sugar tends to get a bit sticky single thread consistency. Keep a close watch!
Add the Milk to the sugar syrup and keep stirring, as the mixture takes in the heat, the milk turns into a transparent jelly like mass.. KEEP STIRRING! when it becomes a bit hard, add little boiling water at a time and keep stirring. Little by little, till you use up all the boiling water !

The mass takes up all the water and again starts to thicken, that's when you start adding your ghee little by little.. KEEP STIRRING..BE CONSISTENT..DON'T LET ANY LUMPS FORM.. NICE AND STEADY HANDS..STIR AWAY.. Now is when the towels will come handy :)
Add the desired color, saffron strands & the cardamom powder and KEEP STIRRING adding little ghee at a time.. Takes about 20 min (roughly). You know it's done when you take a small ball and throw it straight on the plate and the ball retains it's shape. If it flattens out, it means the dough needs more stirring and ghee..
Once done, empty it onto a greased plate and flatten it to one inch thickness.. evenly spread the roasted cashews and slice when it's slightly warm.. I couldn't wait till then :)
Hope you enjoyed the recipe ! Do give it a try & dig into the worlds best Halwa !